Step#1 Pick a server サーバー選び
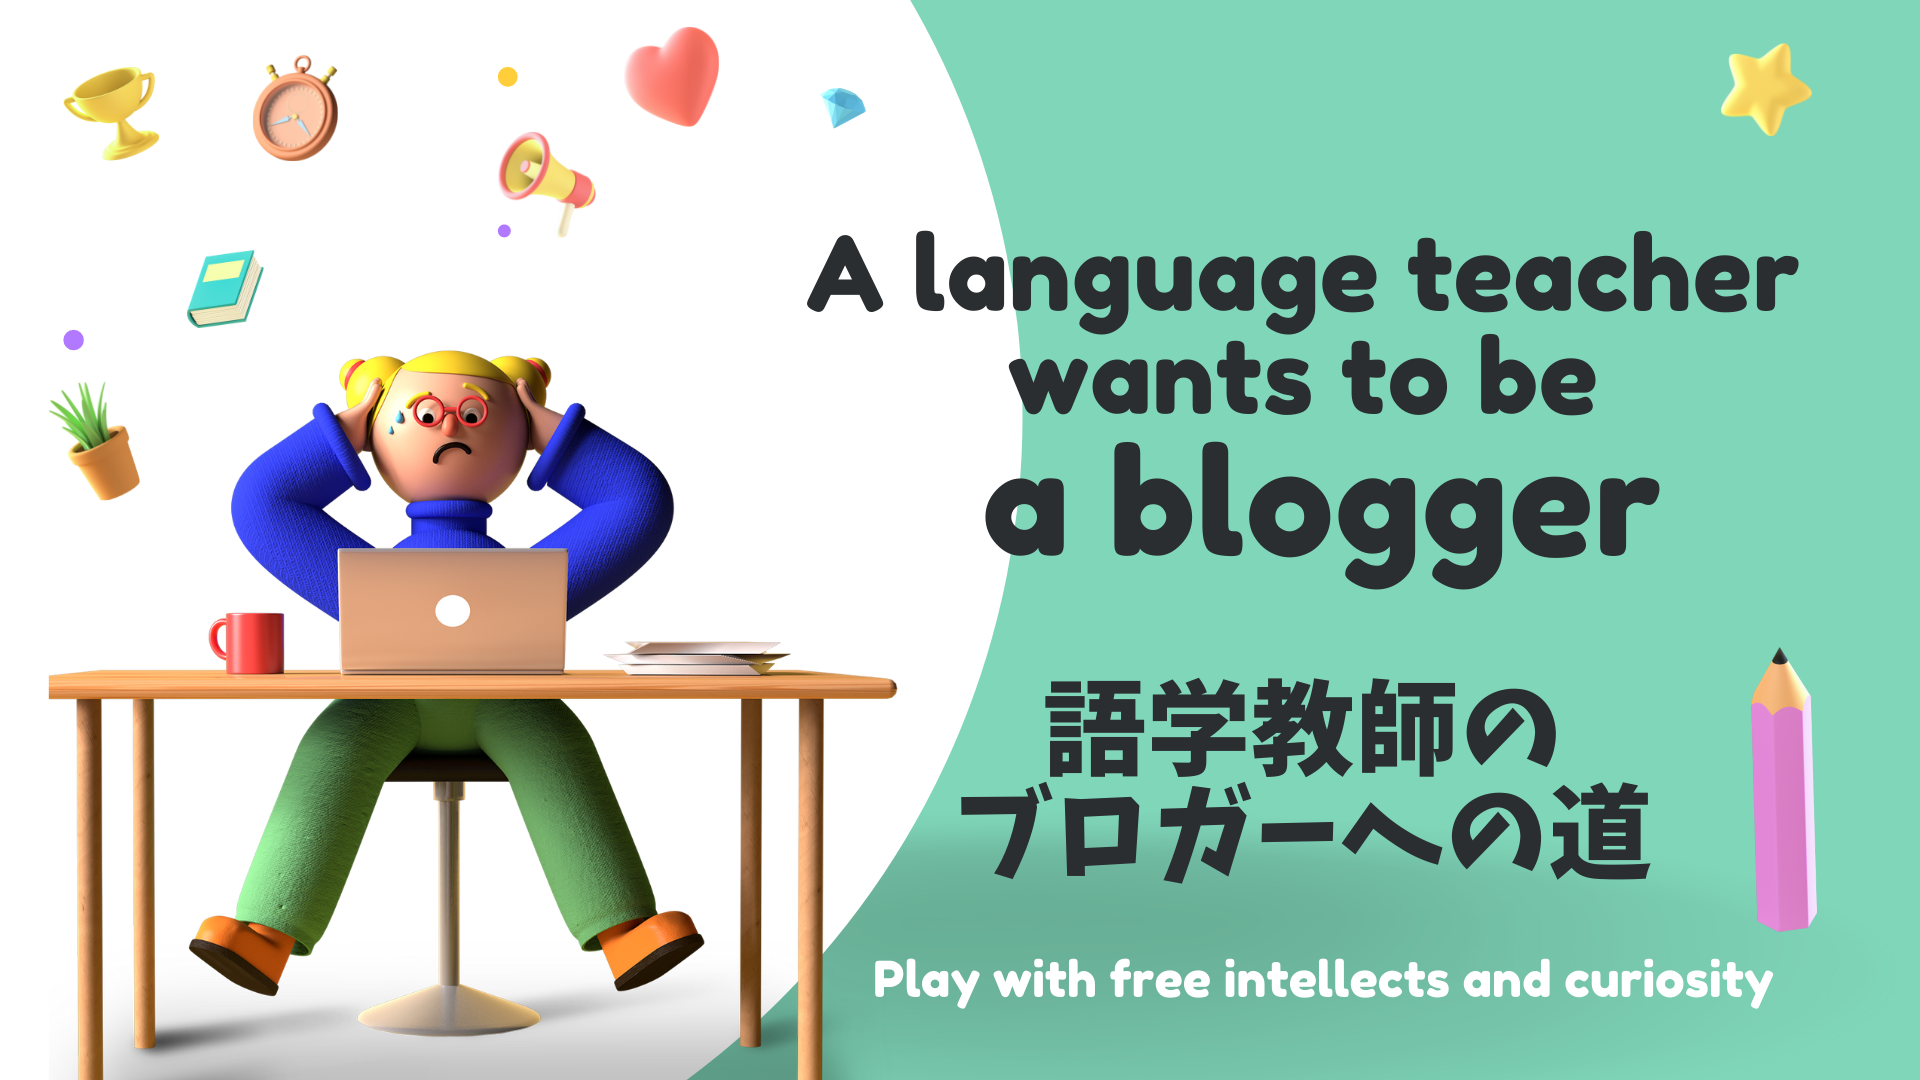
ブロガーへの道#01
First, I learned the basic stuff at hitodeblog.com. What I learned is …
ブログ挑戦を思い立った私、ヒトデブログでざっくりブログ作成について学びます。
I actually have been a free type blogger for more than half of my life. So, I had no second thought and picked up the free one. As a free type blogger, I found myself a type of person who considers a blog as a personal note for themselves, not for someone else. I was really not interested in how others see my blog.
実は無料ブロガー歴は人生の半分以上、である私。ここは有料の一択です。無料ブロガーとしての私の特徴は、お金がかかっていない限りブログとは自分のためのメモノートであり、別に誰かにみてもらうかどうかはどうでもいい、だったんですね。
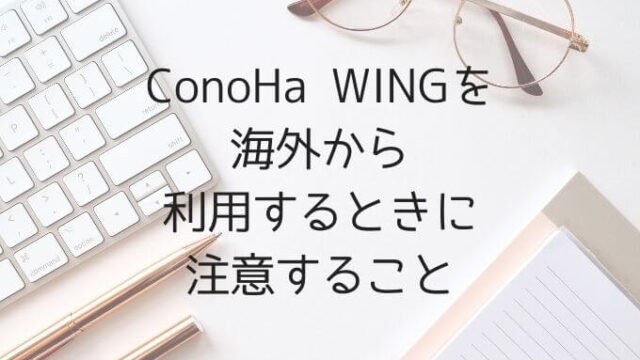
I saw hitodeblog’s recommendations such as ConoHa Wing, Lolipop, and mixhost, and I picked up ConoHa since it had a campaign price and it was Hitode’s no.1 recommendation. (Even though I know that I am super terrible at making a decision and I determined to make it as quick as possible, it took for a while. I am telling you that picking a server is nearly nothing and there is a lot of you need to sacrifice your time! )
ヒトデブログのオススメである ConoHa Wingやlolipop、そして mixhostを確認。結局、ヒトデさんイチオシのConoHa Wingに決めました。(自分が決めることが苦手な人間なので、できるだけ時間を最小限で決めていこうと決意していましたが、やっぱり決めるのに多少の時間を要しました。でも言っておきますよ、サーバーを選ぶのは本当に、サイトをこれから作っていくのに比べたら何でもありません。時間はサイトづくりに当てるのが絶対にいいと思います。)
Step#2 Rent a server サーバー契約をする
So, according to Hitodeblog, you are supposed to be able to make an account for about 20-min. Guess what happened! how much did I actually take!
で、サーバーの契約、ヒトデブログによると20分でできるとのこと。さ、何が起きたでしょう?私は何分かかったでしょう?
It took 3 days.
はい、答えは3日です。
It was because of the security matters for internet transactions. The services are all Japanese but I tried to make it outside of Japan. I had difficulty with ConoHa Wing first, and then I even tried with Lolipop too. But, the consequences were the same. And, I had to do some stuff manually, then finally I had my server in 3 days.
ま、単純にいうと、セキュリティの関係で日本の会社とインターネットを通して契約する際に、登録や決済が一筋縄ではいかないんですね。一時はConoHaを諦めてロリポップも試しましたが、結果が同じだったので、直接問い合わせて対処をし、3日後にやっとサーバーレンタルが完了したのです。
I was a bit disappointed that they had no instructions but it was inevitable matter. It made realized how it can be tough live abroad unfortunately.
残念だったのは、調べてみると、たまたま発生したわけじゃなくて海外からのアクセスだとほぼ確実に起こることなのに全くその説明がわかりやすいところになかったことです。あぁ、国外で生きる者の苦しさという感じでした。

If you were there, you could but I had to set up WordPress by myself since I couldn’t get through the quick setup option. I managed with quite a few patients.
ちなみに、国内にいる場合は問題なくできるところでしたが、WordPressのかんたんセットアップも利用できず、自分でセットアップしました。いらいらを抱えながらもなんとかサイト開設が完了しました。
Step#3 Construct a website with WordPress いよいよ作成開始
It was a harsh onset, but anyway I made it. Now I started construction. To construct my website, I had to learn how to edit, since the editing system on WordPress is very tricky. (Since I had been a WordPress.com user a while and I’d never tried to learn, I knew that you couldn’t get it without some commitment of learning.)
とても厳しい船出でしたが、とにもかくにも出港しました。というわけでここからいよいよ私のサイトの作成です!サイト作成、まずは編集方法を学ぶところから始めざるを得ませんでした。(実は無料版のWordPress.comをしばらく利用していたので、編集画面の難解さは既に分かっていたのです。これは気合を入れて時間を割かないと絶対にできないやつだと。)


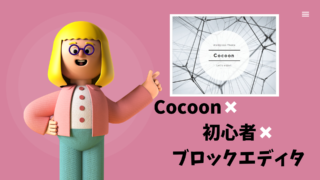
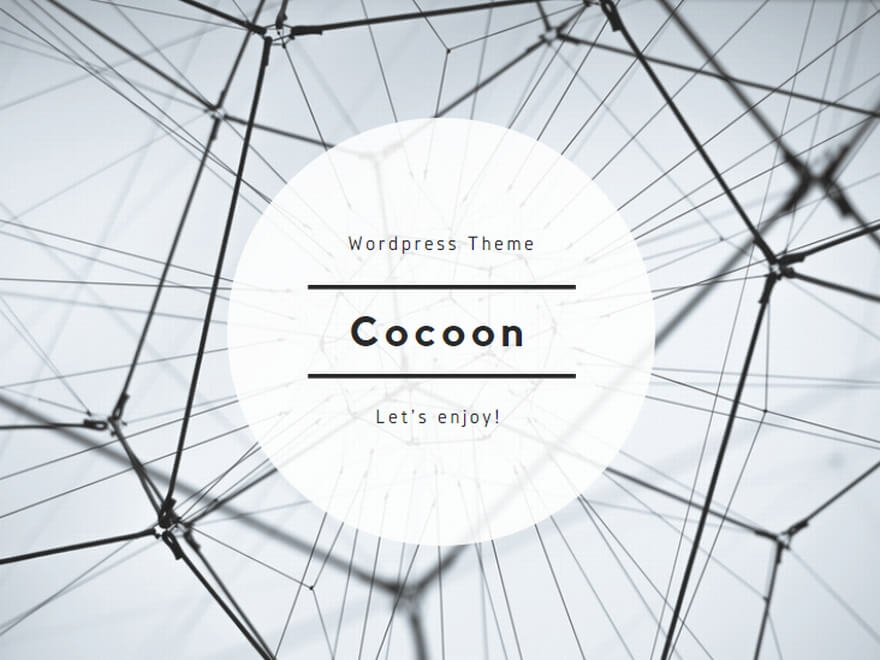
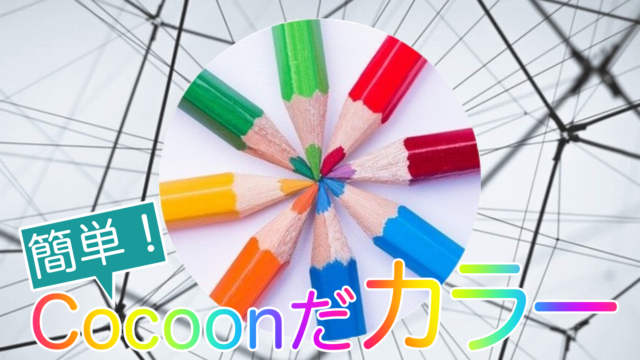
The most important thing I learned was that the main trend for Japanese users is ‘classic editor’ while the system is going to continue only ‘block editor’ in near future. Since I wanted to use the theme ”Cocoon” which is designed for Japanese users, a lot of information about this theme was explained by the classic editor, which apparently looked different page from mine. Then I realized this important fact.
いろいろ勉強した中でもっとも重要だと思ったのが、クラッシックエディタとブロックエディタの違いです。日本人用のテーマCocoonを使いたかった私は、情報を調べるたびにブロガーの方たちがクラッシックエディタ画面を元に説明するのに出会うのです。でも私と画面が違うからそこからして混乱だったのです。そして行き着いたのは、古いクラッシックスタイルと新しい方法の2つがあるという事実でした。
Okay, so here is my first arduous page for the classic editor. This was a great experience for me to build a bilingual blog since the structure was crucial but tricky. It is so easy to get lost!
じゃ、私の初めてにして渾身の投稿をご紹介しましょう。こちらのポストです。このポストを作成する過程は重要な経験でした。バイリンガルブログを作るためには構造がとても重要なんですが、構造は学んでもすぐに迷子になるくらいトリッキーなんです。
Step#4 Tips I used for my website! 私のブログで参考にした情報🔰
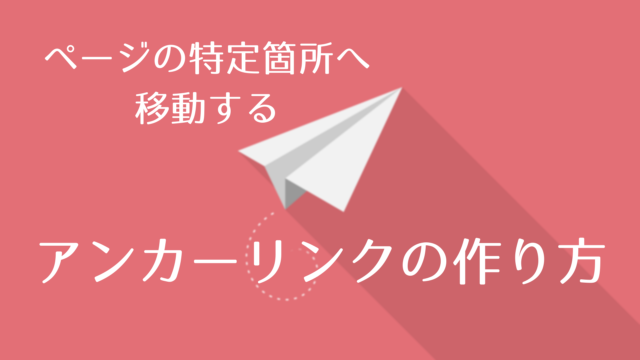
How to make a link to a certain part of another page directly? Your post has three contents. Now, you’d like to make a link to another page’s content’s no.2 directly, so that your reader does not need to scroll!
別ページの特定箇所にリンクを作る方法。あなたのページが3つのコンテンツで構成されている場合、今いるページから別のページのコンテンツの2つ目にどのようにリンクを貼ればいいでしょうか?
Your page has become so long, and you’d like to show a ‘back to a menu’ bottom automatically. How can you make it? According to my research, it is possible only for mobile, not for PC sites.
ページがすっごく長くなってきました。トップに戻るボタンは自動で作られますが、メニューに戻るボタンって作れないのか?モバイル用のツールは見つけられましたが、PC用を見つけることはできませんでした。

I want to make a contact page! There are some ways to do that, but I picked the way of using Google Form!
お問い合わせページを作りたい。いくつか方法があるみたい。私が選んだのはGoogle Formを使った方法です!
I want to put some articles with images beneath the top menu. There is a function for おすすめカード!
トップメニューの下に画像つきのボタンメニューを設置したい。おすすめカード機能をご紹介。
I want to make a category menu in my mobile menu.
カテゴリーメニューをモバイル用ページにだけに設置したい。
I want to set tab-bottoms beneath the bottoms of the articles in the header.
オススメ記事メニューの下にタブメニューも作りたい!
In the editor, I want to set my regular color in the pallet.
編集画面のカラーパレットに、よく使う色をセットできる?
I want to create a cute image easily! Canva can make it happen for you!
可愛い画像、簡単に作れないかな。Canvaがあれば大丈夫。

Can I choose a cute Japanese font in Canva?
Canva内でも日本語のかわいいフォントありますか?

Can get generic images easily with my regular color? unDraw is the best easiest!!
自分の常用色を使って、よくある簡単な挿絵って手に入るかな?unDrawが最高です!しかも超簡単です!

I want to find a suitable color for my website!
自分のサイトに合った色ってどうやって探せばいいの?

How can I set each page’s URL?
各ページのURLを自分で決めたい!

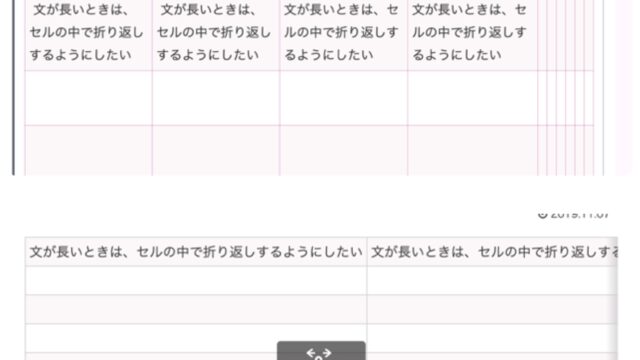
How do I turn off scrolling for a table?
テーブルがスクロールしちゃう!スクロールじゃなくて折り返せないの?
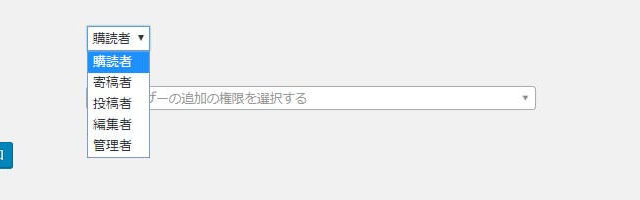
I want to let my page be checked before publicizing since my German is not reliable.
- publish an article as visibility: private.
- you add another user account as an editor.
- when your editor logs in and opens your webpage, the private article will show only for your editor and yourself.
ページを公開する前に、他の人にチェックしてもらえるようにしたい。ドイツ語はまだ全然のレベルなので!
- 当該ページを非公開設定で公開する。
- 編集者の権限のユーザーを新規に追加する。
- 編集者でログイン後、サイトを開くとロク員情報を元に非公開と明記された記事が他の公開記事とともに表示される。
They are the all information I used for setting up my website! Of course, you can ask me anything if you have questions! Thank you so much for reading it, and see you again soon!
以上が、私がホームページを立ち上げるにあたって使った情報たちです。私のページでやってることはほぼこのリンクでできるはずですが、もちろん質問があったらなんでも聞いてくださいね!ではまた次回をお楽しみに!